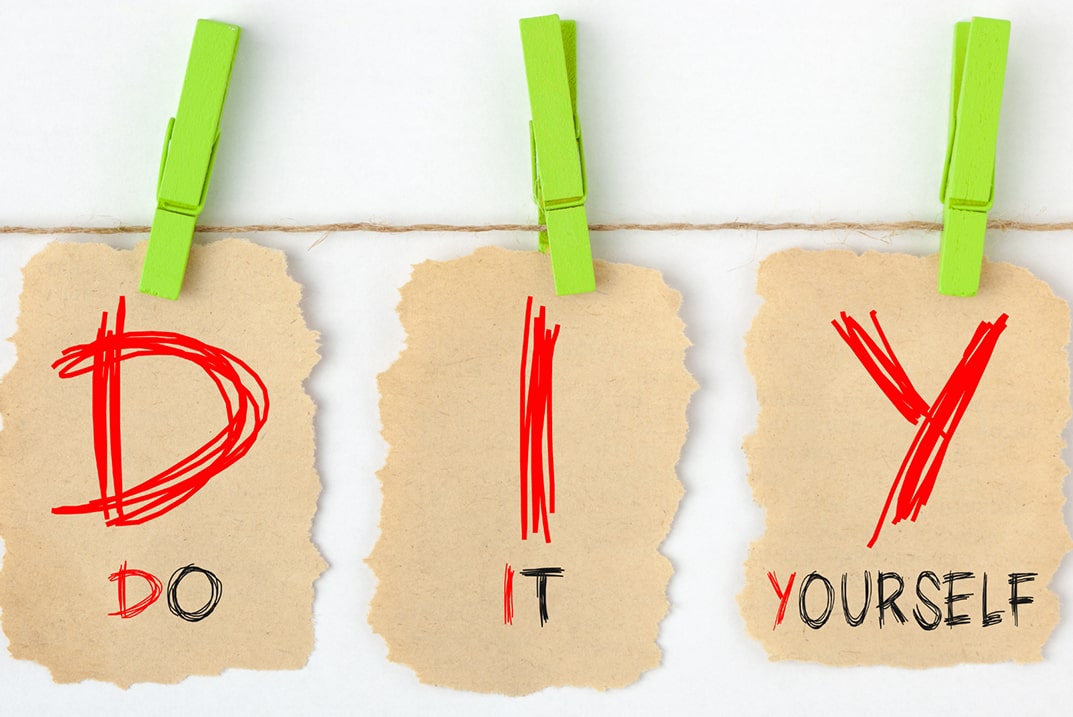
How To Create A Wall Print Design: Unleash Your Creativity at Home In 2023
Do you want know how to create a wall print design for your home? It’s time to think about creating a DIY wall print design. You can turn your living areas into unique works of art with a little creativity, some simple tools, and a pinch of inspiration. This guide will walk you through the exciting world of DIY wall print design and provide you with step-by-step instructions.
Table of Contents
Toggle
Why DIY Wall Print Design?
Choosing to create DIY wall prints for your house has many benefits. These are but a handful:
- Intelligence: Make wall prints that express your own sense of style and taste to make your room genuinely yours.
- Economically Sound: Creating your own wall prints can be far less expensive than buying art or prints from stores.
- Artistic Representation: Even if you’re not a professional artist, this is a great way for you to express your artistic vision and creativity.
- Endless Possibilities: You can experiment with a wide range of styles and themes because there are countless design options available.
Getting Started
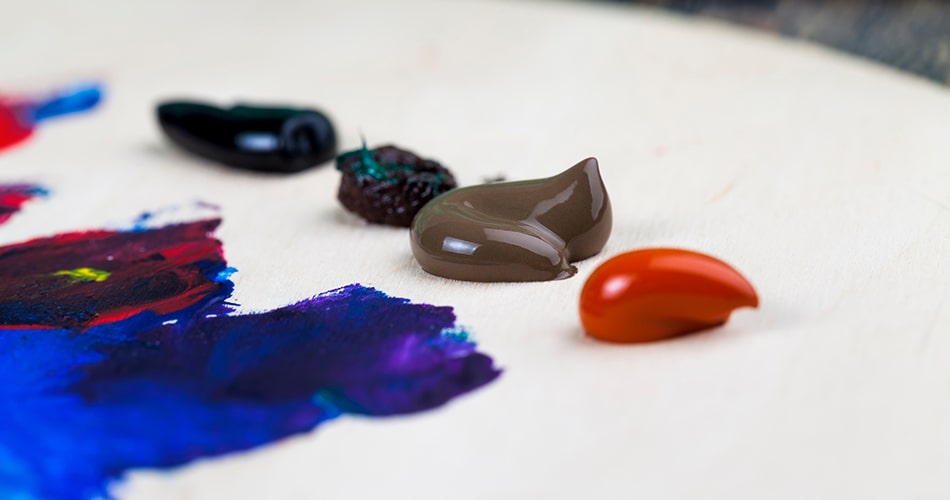
Materials You’ll Need. Before you dive into the world of DIY wall prints, gather the following materials.
Get the following supplies before you start creating DIY wall prints:
- Paper or Canvas: This is going to be the foundation for your wall print.
- Paints: Watercolor, acrylic, or any other paint kind that you like.
- Brushes: A selection of brushes for various effects and strokes.
- Palette: For blending and storing paint.
- Design Inspiration: Look through periodicals, internet photos, or your own creativity for inspiration.
- Dry Cloth or Newspaper: Use a newspaper or drop cloth to shield your workspace from paint spills.
- Easel: Not required, but it can help you paint more comfortably.
Choose Your Design

Choose the type of wall print you want to make first. Are you more drawn to landscapes, botanicals, abstract art, or something else entirely? The design you choose is very important because it establishes the overall mood of the project. To find inspiration, take your time and peruse art books, periodicals, or internet resources like Pinterest.
Planning Your DIY Wall Print
It’s time to organize your DIY wall print now that you have the supplies and a design idea:
- Create a Sketch of Your Idea: If you’re not comfortable painting by hand, use a pencil to lightly sketch your design onto the canvas.
- Pick Your Color Palette: Decide on a color scheme that goes well with your interior design. Think about the feeling you want to create, whether it’s with serene pastels or striking, strong hues.
- Try Different Painting Techniques: To get the right effect, try different painting techniques like blending, stippling, or layering, depending on your design.
- Acquire Source Pictures: Should your design incorporate particular objects or elements, keep reference photos on hand to ensure accuracy.
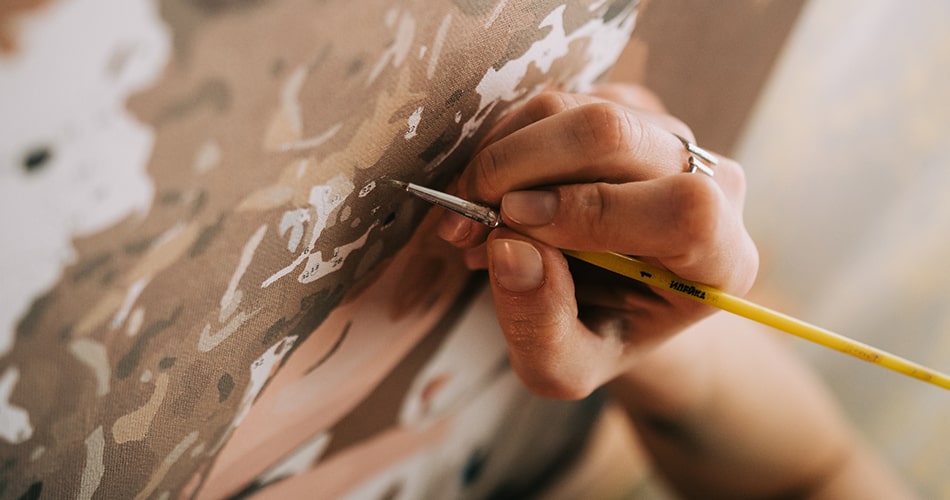
The Painting Process
This is the exciting part: making your wall print come to life! Here are some painting-related pointers:
- Lead with the Overview: Start by painting the canvas’s background. This is going to be the foundation of your design.
- Work in Layers: Take your time and don’t hurry this process. Apply layers of paint to your design, letting each one dry completely before applying the next.
- Details Are Important: Focus on the smaller details. They have the power to significantly alter the outcome.
- Try New Things and Be Original: Try experimenting with various methods and supplies without fear. You may find a distinctive look that you adore.
- Take pauses: Painting can take a lot of time. To prevent becoming overly tired, take breaks and come back to your work with a new perspective.
Finishing Touches
After completing your DIY wall print, it’s time to add the final details:
- Let It Dry: Give your painting enough time to fully dry. This is essential before hanging or framing it.
- Protect Your Art: To keep your artwork safe from dust and harm, think about using a clear acrylic sealer.
- Framing: Select a frame that goes well with both your style and the décor of the space.
Displaying Your DIY Wall Print Design
It’s time to hang your homemade wall print now that it’s ready. Here are some ideas on how to present your artwork:
- Residence: Your living room’s focal point can be a big, striking piece.
- Bedroom: Hang a calming wall print above your bed to create a calm atmosphere.
- Kitchen: A bright wall print will give your kitchen a splash of color.
- Residence Office: Use framed art or motivational quotes to create an inspiring workspace.
- Hallway: Convert a hallway into an art gallery by using a number of smaller wall prints.
Maintenance and Care
Take note of these upkeep suggestions to make sure your homemade wall print lasts a lifetime:
- Dust Regularly: To clean your wall print’s surface of dust, use a soft, dry cloth.
- Avoid Direct Sunlight: Paintings may eventually fade from prolonged exposure to direct sunlight.
- Inspect for Damage: Regularly look for indications of wear or damage on your wall print.
In Conclusion
An excellent way to add your individuality and creativity to your living area is with a DIY wall print design. It enables you to design a distinctive and customized environment that showcases your taste and style. Whether you are an experienced artist or a beginner, this creative project will make you feel good about yourself when you hang your own original work of art.